colonial

Winnetka Colonial Chronicles, Part 8

Hooray! We crossed the finish line on this Winnetka Colonial before it finished us. We've spent months ripping it apart and carefully rebuilding it. This house is now ready to serve many more years. If you want to read more about this odyssey, check out Winnetka Colonial Chronicles Parts 1, 2, 3, 4, 5, 6, and 7. Odyssey seems like the right word to describe this project. There was more joy than pain on this winding road. We are no nuttier today than we were at the start, so that also goes in the win column. It helps to find some pleasure in untangling those problems that inevitably pop up in vintage homes. It also helps that we we blocked out all of the hideous details from our memories. Who even remembers that happened? Not us.

The scars have healed. Now we can exhale and conclude with a look at the first floor. 

We refinished the hardwood floors with a custom stain, replaced the baseboard, and installed crown molding. The traditional center entry stairwell was stabilized and reinforced.

The typically oversized living room is always a bit tricky in colonial homes of this age, but we added lighting to complement the natural light from the large windows and refinished the fireplace which had previously featured painted brick. 

One way to reduce the "bowling alley" effect of the large colonial living room is to create some visual separation. In this example, we added french doors and a coffered ceiling to separate the study from the living room. We also added a passage to the kitchen to improve the flow of the house.

Another view of the study. The tightly compartmentalized floor plans of older homes are often incompatible with how families live today, so it's common to merge small spaces that are closed off and divide other spaces that are unusually large. 

Before: the old wall separating the kitchen from the dining room.

Before: the old kitchen.

The kitchen was a prime example of adapting the layout to today's family: small, dark and closed off by a wall where the refrigerator is now, the new kitchen benefitted from a more spacious expansion, as well as new appliances, cabinetry, and lighting.

A good layout is vital because so much of family life occurs in or near the kitchen. If possible, we like to make kitchens comfortable for two or more people to work together. Pathway widths of 44" between range and island and 46" between sink and island are shown here. An eight foot island ensures plenty of counter space for food prep and seating for four.

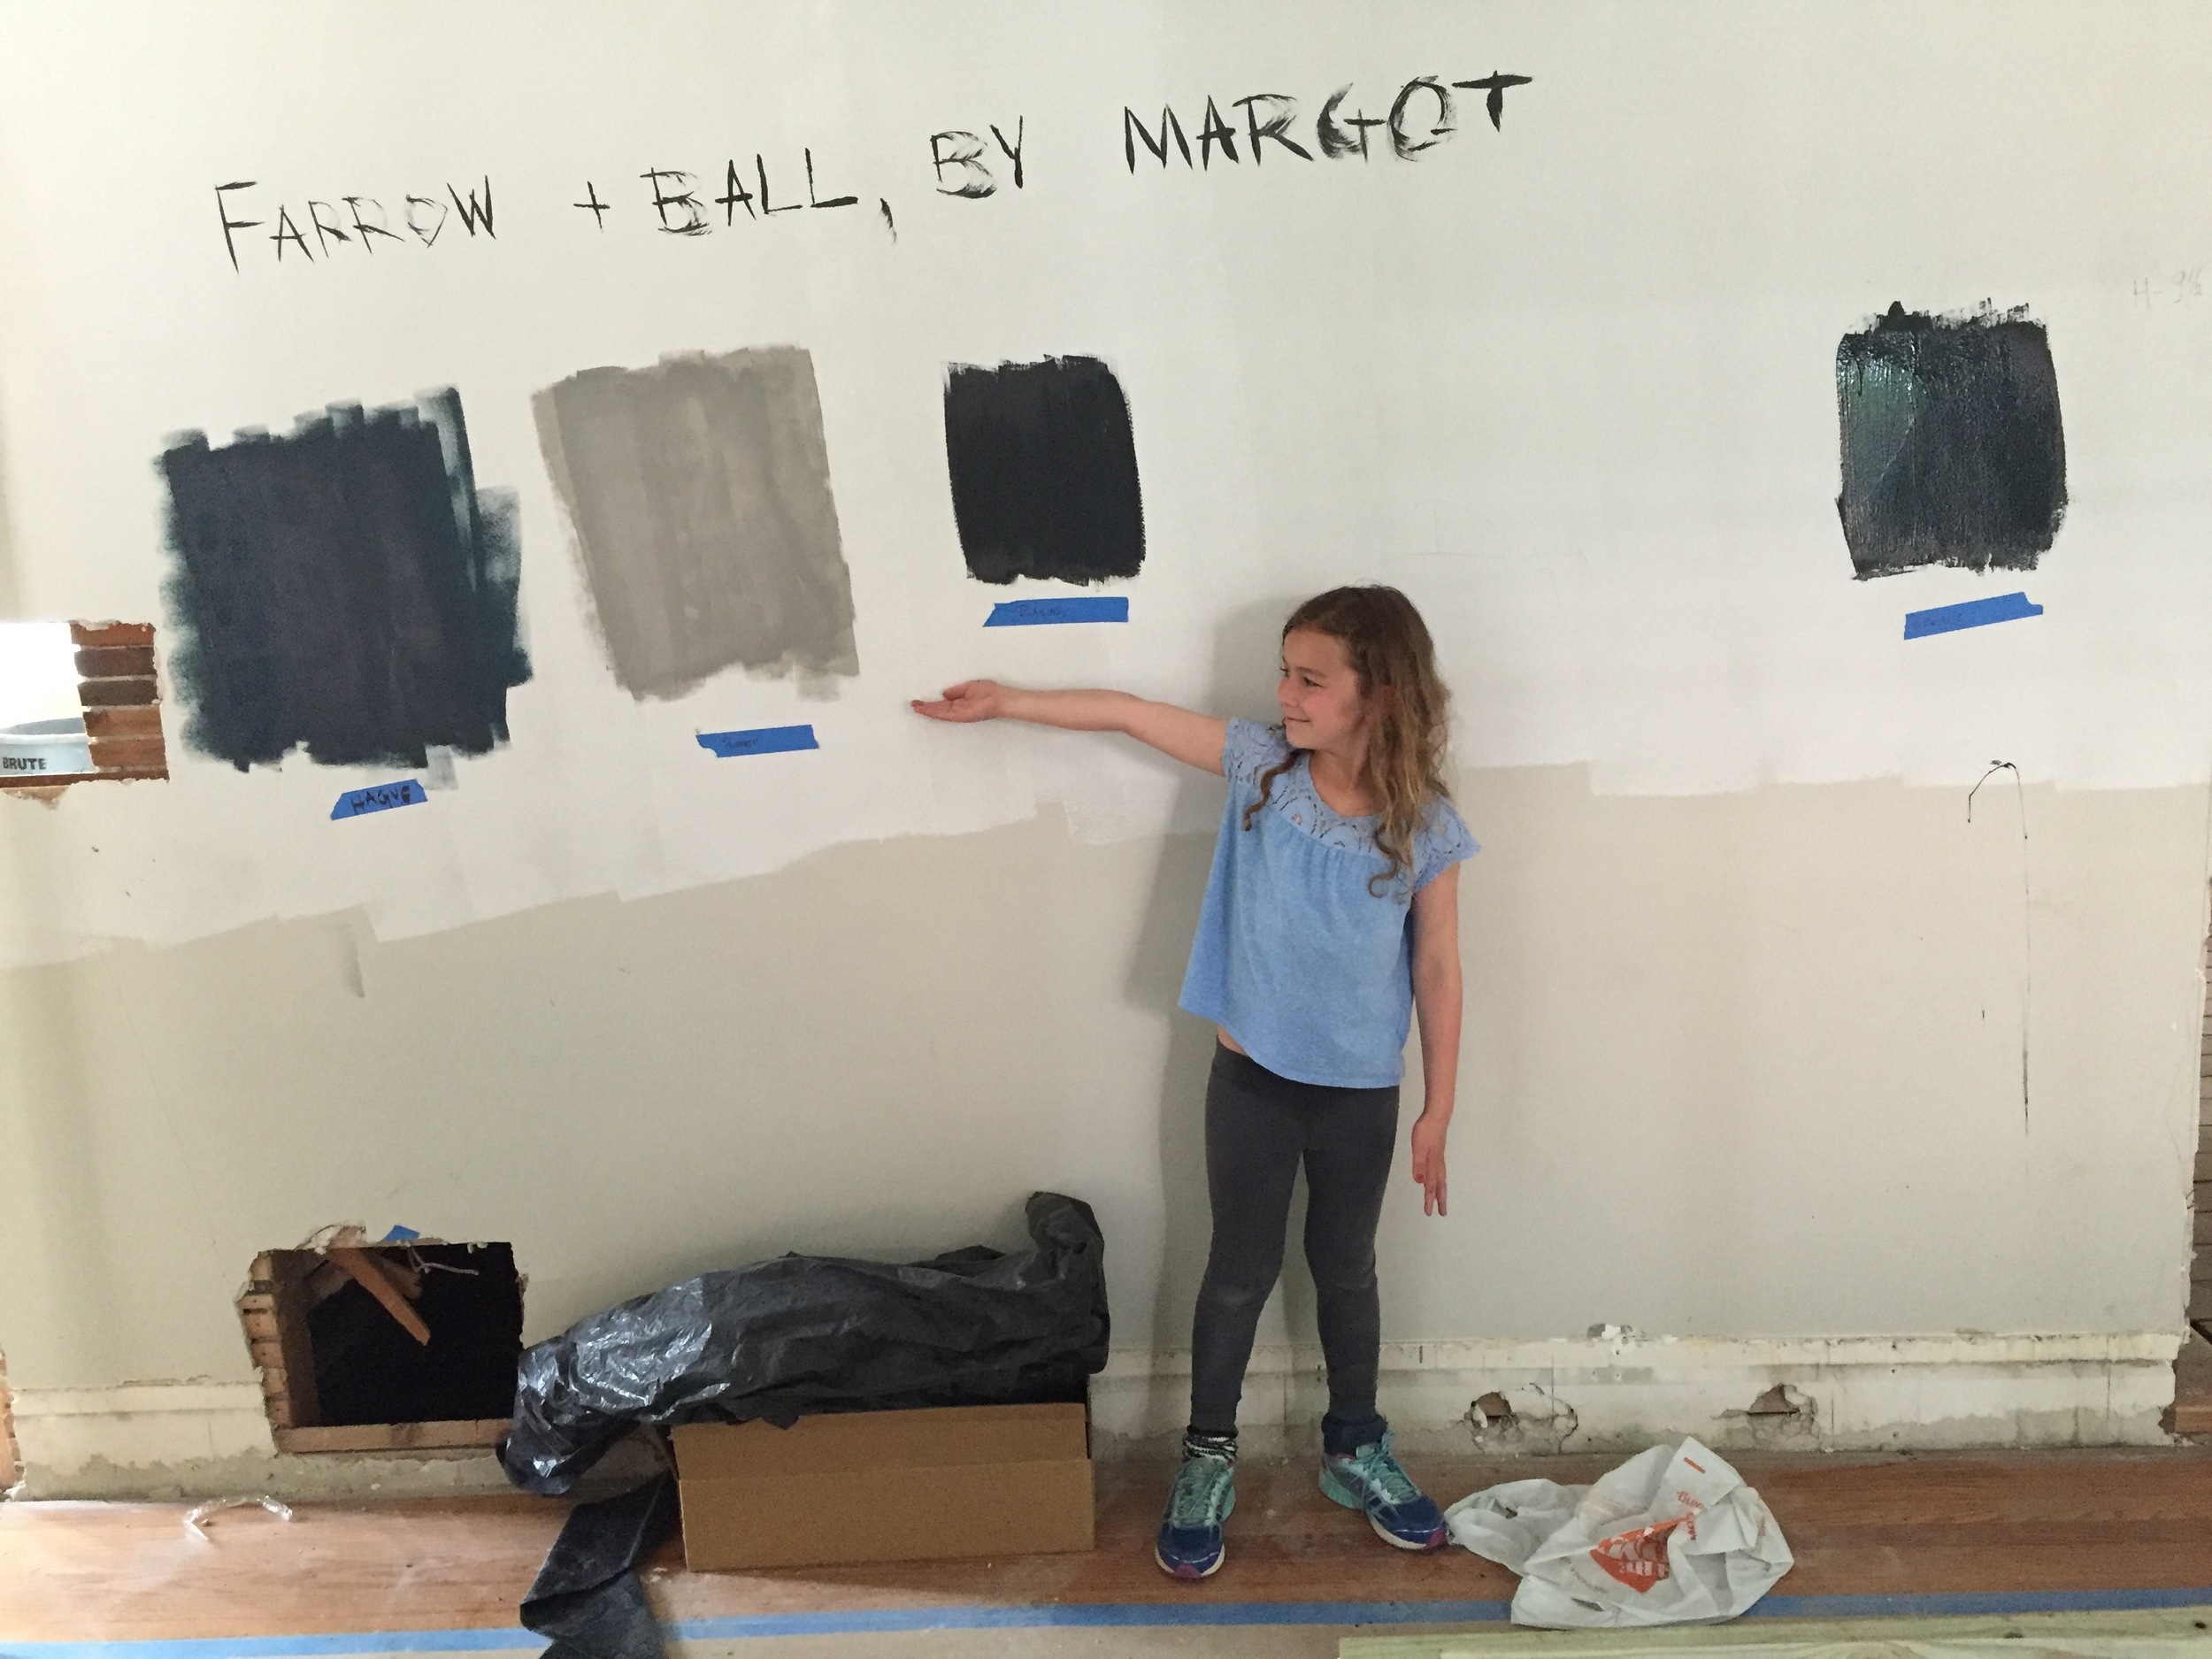
A small powder room is a fun challenge, and there is some limit to what can be done in a 44" x 44" room once the toilet is installed. The dramatic Farrow & Ball wallpaper created a dragged-paint effect and accentuates the height of the bathroom. 

Down-on-their-luck properties with the promise of a brighter future can test a homeowner to the core, no doubt. But the final results can be extraordinarily satisfying. We hope you enjoyed the Winnetka Colonial Chronicles, and thank you for spending some time in The Attic. Please don't hesitate to contact us if we can assist you with any of your renovation projects. 

Winnetka Colonial Chronicles, Part 3

We did major surgery on the inside of a 1925 colonial in Winnetka, and you can catch up on the colossal mess we made in Winnetka Colonial Chronicles Part 2.

The dust has temporarily settled. Just when we thought we were losing our minds with all of the debris, rotted pipes, fire-hazardous wiring, and atomized plaster particles covering every square inch, we finished most of the items behind the walls. New electrical. New plumbing. New windows. New roof and gutters. Repairing the walls, ceilings, and floors is just around the corner. We're getting close to sewing this patient back up.

During weekends and off-hours, we give the doors some much-needed attention. We think this old colonial would approve.

We decided to preserve as many of the original solid wood interior doors as we could. Some were in rough shape, and all of them needed to be stripped, sanded, and repainted. 

We decided to preserve as many of the original solid wood interior doors as we could. Some were in rough shape, and all of them needed to be stripped, sanded, and repainted. 

We saved the front door of the house from the landfill. After sanding it down to bare wood and repairing some minor damage, it received a coat of Hollandlac oil-based primer. 

We saved the front door of the house from the landfill. After sanding it down to bare wood and repairing some minor damage, it received a coat of Hollandlac oil-based primer. 

Although it's pricy compared to water-based paints, we like Dutch oil paint and primers when the job calls for it. The rich depth of color is incredible and nearly impossible to achieve with latex paints. This exterior door will endure decades …

Although it's pricy compared to water-based paints, we like Dutch oil paint and primers when the job calls for it. The rich depth of color is incredible and nearly impossible to achieve with latex paints. This exterior door will endure decades after we're finished with it. 

Our resident artist at work. It's not too early to start thinking about the interior paint schedule. 

Our resident artist at work. It's not too early to start thinking about the interior paint schedule. 

The former attic might be our favorite space to finish. It was unfinished when we came upon the property, but it was connected to the 2nd floor by a full stairwell. Tall cathedral ceilings, be still my beating heart! 

The former attic might be our favorite space to finish. It was unfinished when we came upon the property, but it was connected to the 2nd floor by a full stairwell. Tall cathedral ceilings, be still my beating heart! 

In order to create the required headroom at the top of the stairs, we could have removed a step at the peak and dropped the ceiling on the 2nd floor to accommodate the new landing in the attic. Or  . . . we could rip out a big chunk of the roof…

In order to create the required headroom at the top of the stairs, we could have removed a step at the peak and dropped the ceiling on the 2nd floor to accommodate the new landing in the attic. Or  . . . we could rip out a big chunk of the roof and build a dormer for a dramatic tree-house effect.

Happy to finally meet you, my favorite new tree house. I feel like I've always known you somehow.

Happy to finally meet you, my favorite new tree house. I feel like I've always known you somehow.

I feel something sentimental as the project turns the corner from the unglamorous plumbing, electrical, framing, and other "behind-the-scenes" work to some of the tangible finishes. It's a mixture of relief and anticipation with a twinge of farewell because I can see the end approaching just over the horizon. There's probably a German expression for this jumbled feeling, like schadenfreude, but I don't know what it is. I'm glad for it, I suppose. It reminds me that we must hand over the keys eventually, so we'll make every day count until then. 


Winnetka Colonial Chronicles, Part 1

So we are embarking on a whole home renovation on an old colonial at 557 Winnetka Avenue in Winnetka, and there is a ton of work to do. Maybe two tons. I recall some good advice when I first peered down a steep mountain: 

Cut the mountain up into slices. Then ski your slice.

The total project feels colossal at the moment.  The permit was issued (more on that later). One slice. We have the fences up to protect the trees. Another slice. Enlist your 10 year old to clean up the 91 year old doors. Keep slicing.

Removing loads of old door hardware is easier when you don't have to bend at the waist. 54" tall is about right.  

Removing loads of old door hardware is easier when you don't have to bend at the waist. 54" tall is about right.  

Not sure if he is walking the dog or the dog is walking him, but prepping an old door is a good rainy-day activity.

Not sure if he is walking the dog or the dog is walking him, but prepping an old door is a good rainy-day activity.

Now a quick word about construction permits in Winnetka. The village requirements are stringent. The total cost of the permit can be breathtaking.  

Any major renovation requires architectural plans and most likely a survey by civil engineers. We'll start the ball rolling with $10,000 or more out of the gates. We need to remove some trees to build a new garage, so the forestry department has to approve the plans and ensure that the remaining trees are adequately protected by chain link fence. It also requires a $10,000 refundable cash deposit. If you remove a tree greater than 8" in diameter, you will not only need the permit and have to pay the deposit, but you also have to replace removed trees with new trees of equal diameter or greater. In other words, be prepared to plant at least 30" worth of new trees if you take out two trees totaling 30" diameter. Landscaping costs begin there. We also need to upgrade the electrical, and the village requires us to use the village department for connecting the street power to the home via an underground cable. That's a bit more than $9,000 just to get 200 amp service running into the home. Gulp. The inadequate water service needs to be upgraded, too, which requires a directional bore from the water main under the street through the basement wall. Cha-ching. All of this before a single dumpster arrives on the lot.

The important thing is to retain your sense of humor.  

As I walked away from the village cashier's desk, I jokingly asked her whether I looked any lighter. She smiled and said I looked as handsome as ever. I definitely paid for that compliment.    


Remodeling and Home Design